Notion
Overview
Notion is a cloud-based knowledge management platform used for note taking and project planning.
Prerequisites
- In order to create a Notion connector, you will first need to sign up for a Notion account.
- You can play around with Notion using a free pricing tier, at no cost.
Create the (internal) integration
- Login to your Notion account through a web browser.
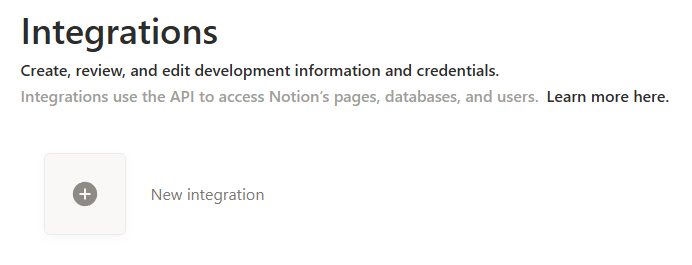
- In the top-right corner, under the (...) menu, navigate to Connections > Develop Integration.
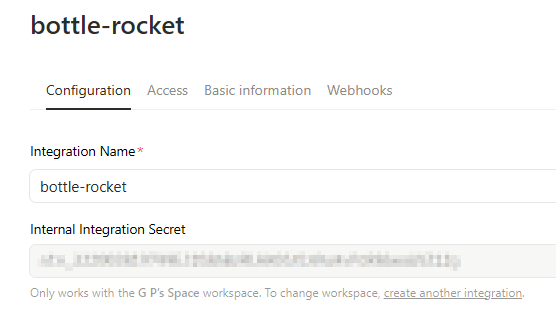
- For Integration Name, enter a name for the integration.
- For Associated workspace, select your Notion workspace.
- Leave Type as Internal for now.
- Click Save to continue. If successful, you should see a confirmation message - click Configure integration settings to proceed.

- You will now see an Internal Integration Secret (click the Show button to reveal it) - this value goes into the Notion connector in Bottle Rocket.
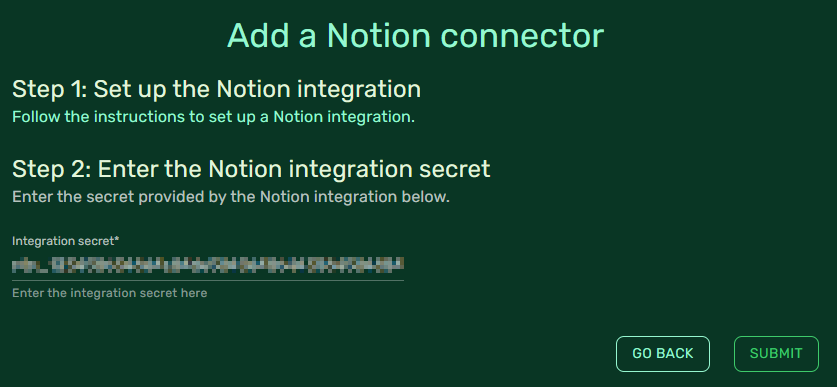
- Click the Submit button to save the connector.
Provision access to parent notes
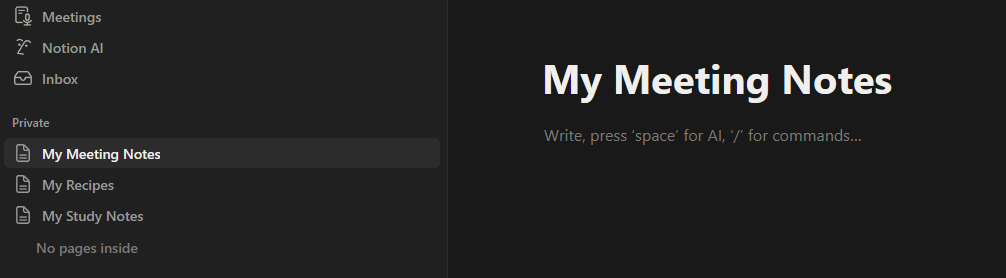
The Notion connector will allow Bottle Rocket to send notes; to do this, you will need to set up "parent" notes in Notion through which "child" notes can be added as children.
- In the main Notion workspace, create a new page.

- Name them anything you like - the name of the note is not needed to set up the connector.
- You can create as many parent notes as you think you may need with Bottle Rocket.
- Navigate back to the Bottle Rocket integration console.
- From the top tab menu, select Access.
- Select Edit access and select the parent notes you wish to provision for Bottle Rocket access.
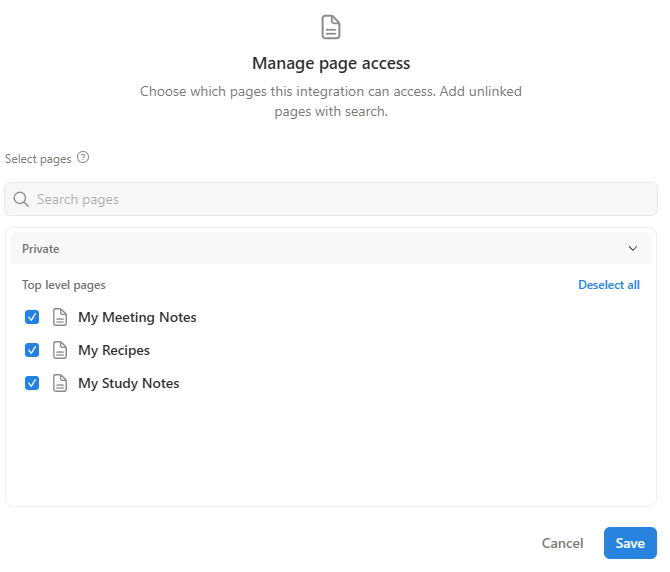
- Click the Save button when done.
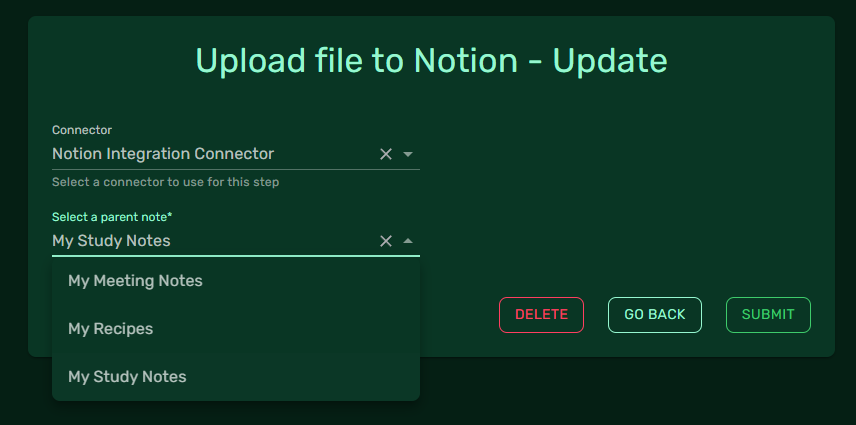
Now, when you create a Notion workflow step, you can select the parent note you wish to append to as part of that workflow step.