Managing your workflows
Adding a new workflow
- Login to your Bottle Rocket server.
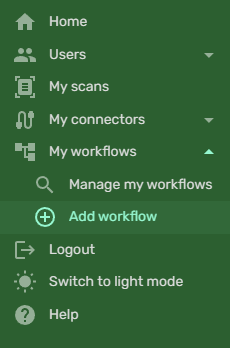
- On the left-hand sidebar, under My workflows, select Add workflow.
- You will be prompted to enter a name for your workflow. Enter a name and click Submit.
note
A given workflow must have a unique name.
- Once saved, you will be taken to the workflow editor page for the newly-added workflow.
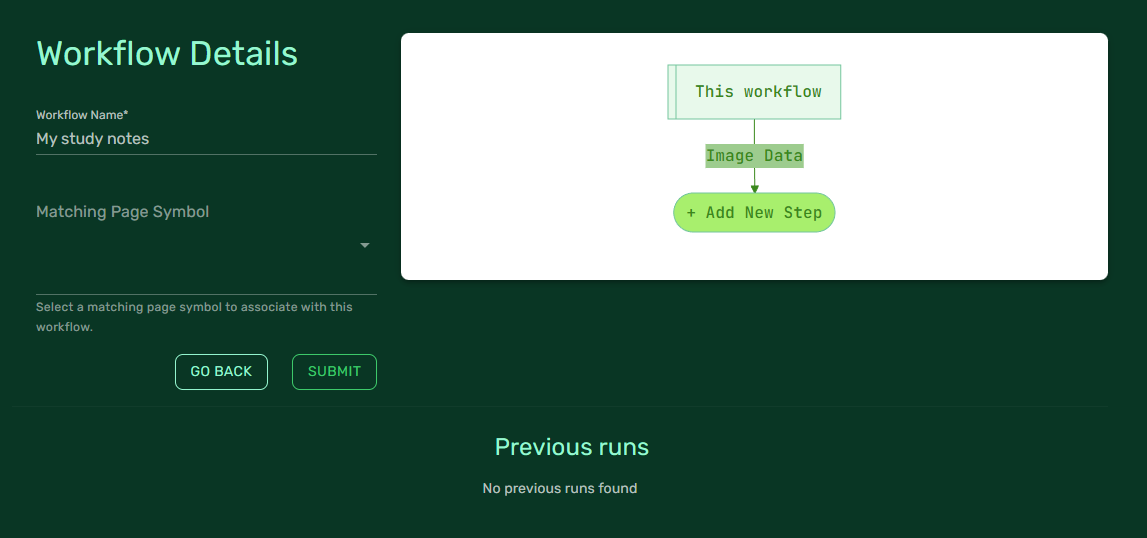
The workflow form
- The left-hand form on the main page contains the top-level workflow details:
- The Workflow Name, which can be changed to any name (again, it must be unique)
- The Matching Page Symbol, through which you can assign a matching page symbol to the workflow.
- To save either of the above, click Submit after making the changes.
The workflow editor
- The right-hand side of the page contains the workflow editor, which is represented as a flowchart of sorts, starting with the top-level image data of the captured page scan.

Adding / updating workflow steps
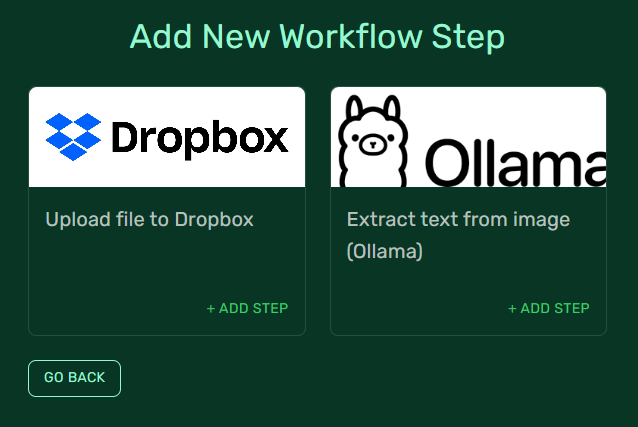
- Adding steps to the workflow is as simple as clicking the Add New Step button.
- You will be taken to a workflow step page where you can choose the desired workflow step you wish to add.
tip
Most workflow steps will require a connector to be specified - however, you do not need to provide this right now.
- A workflow step that is missing a connector will have a warning marker against it in the main editor; when a connector is supplied, the marker will change to a tick.
|
|
A workflow with a missing connector. | A workflow with a connector correctly configured. |


- Each workflow step may have additional properties that require configuration before they can be added to the workflow.
- For example, the Extract text from image (Ollama) step requires a Model Name to be specified before it can be saved.
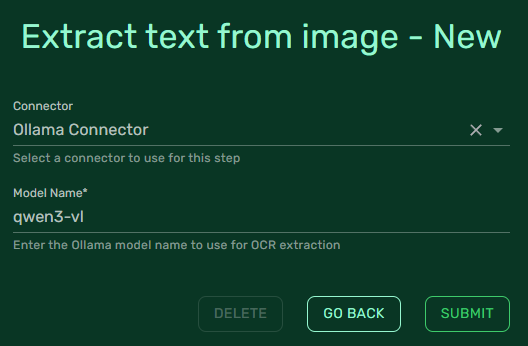
- Once the required workflow step details have been added, click Submit to save the workflow step.
- After adding the workflow step, you will now see an updated workflow chart containing the new step.
- You will also see multiple Add New Step buttons - these allow you to add workflow steps to any point in the workflow.
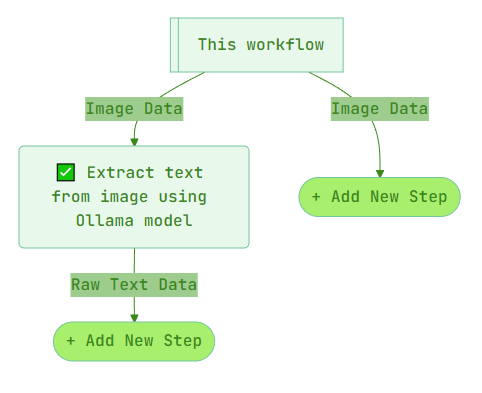
- In this example:
- The Add New Step button on the left will add a child step to the Extract text from image (Ollama) step.
- The Add New Step button on the right will add a new workflow step to the root-level workflow.
- Clicking on the Extract text from image (Ollama) step will take you to the workflow step details page for that step.
Deleting a workflow step
- To delete a workflow step, select it from the workflow editor and click the Delete button.

- You will be prompted to confirm the deletion; select Delete again to confirm.
warning
Deleting a workflow step will also delete all descendant workflow steps associated with it.